
A fade looks sharp for about two weeks. Then the crisp hairline softens, the neckline creeps down, and the gradient that made the cut look deliberate starts to blur into a single length. None of that means the cut was bad — it means a fade is a high-contrast style, and high contrast shows regrowth faster than any other cut.
This guide is the routine that keeps a fade looking fresh between barber visits: what to clean up yourself each week, what to leave alone, the tools you actually need, and a realistic schedule. It works for low and mid fades; if you are still choosing between them, our low fade vs mid fade comparison explains the difference.
Why fades fade: the timeline
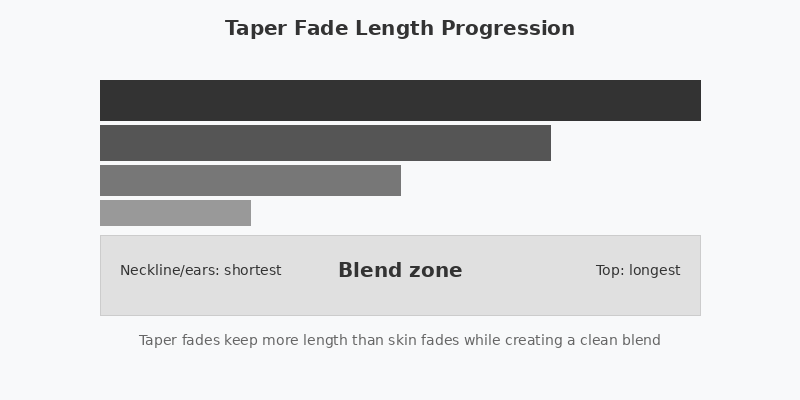
A fade is a gradient from skin (or near-skin) at the bottom to full length at the top. That gradient is what makes it look sharp — and it is also what disappears first. Hair grows about half an inch a month, which does not sound like much until you remember that the bottom of a fade is only 1/16 of an inch long. A week’s growth doubles that length, and the clean line where skin met hair becomes a soft blur.
| Time since cut | What you notice | What fixes it |
|---|---|---|
| Days 1–7 | Crisp edges; the fade looks as intended | Nothing — just keep it clean |
| Days 8–14 | Neckline creeps down; ears get fuzzy; the hairline softens | A 5-minute edge cleanup (neckline, ears, hairline) |
| Days 15–21 | The gradient blurs; the fade starts to look like a taper | Edges plus a light tidy of the sides; book the next cut |
| Days 22+ | The fade has grown into a short, even cut | Time for a full re-cut — home touch-ups stop helping |
The point is not that you can maintain a fade forever. You cannot. The point is that a 10-minute weekly routine stretches the sharp phase from two weeks to three — and that home maintenance is about edges, not blending. The edges are the parts you can safely do yourself; the blend is the part you should not touch.
The between-visits routine (once a week, ~10 minutes)
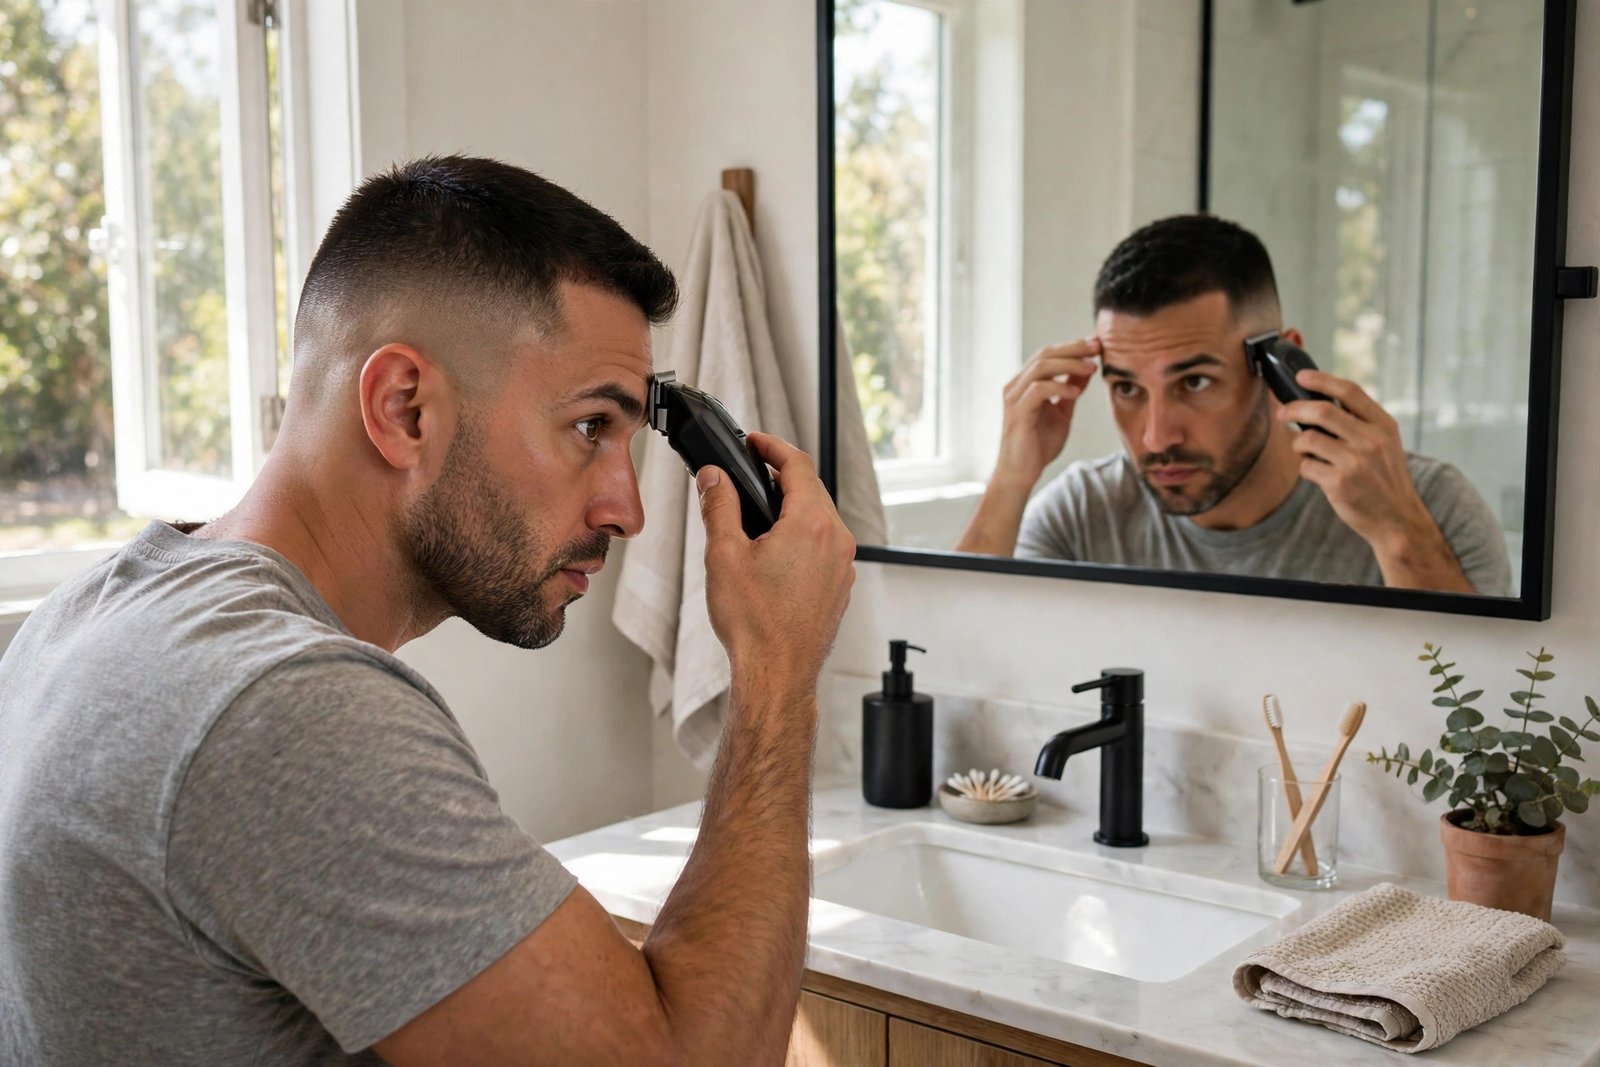
Do this once a week, ideally the day before you want to look your best. Work in front of a well-lit mirror, with a hand mirror for the back. Go slowly the first time; by the third week it will take ten minutes.
Step 1: The neckline
The neckline is the first thing to go, and the easiest to fix. It creeps down as the hair grows, and a fuzzy neckline makes the whole cut look old even when the fade itself is fine.
- Use a trimmer with no guard (or your clippers with the lever open) and clean the hair below the neckline only. Do not raise the line — follow the shape your barber set.
- Work in short, light passes and check constantly. The neckline is the one place where a slip is immediately visible.
- If you have a tapered neckline rather than a blocked one, use the trimmer’s corner to taper the edges rather than drawing a hard line — our clippers and trimmers guide explains the difference.
Step 2: Around the ears
Hair around the ears grows fast and looks messy quickly. Clean the hair that grows over and behind the ear, and the small tufts at the sideburns.
- Fold the ear down gently and trim around it with the trimmer. Work slowly — the skin behind the ear nicks easily.
- Use the trimmer’s corner for the tight spots. Do not try to re-fade the sideburn area; just clean the edges.
Step 3: The front hairline and temples
The hairline frames your face, so a soft or uneven hairline is the most noticeable sign of a fading cut. A light cleanup restores the shape without changing it.
- Clean the stray hairs in front of the hairline only — the fine hairs on the forehead that were not there when the cut was fresh.
- Follow the existing hairline shape. Do not straighten it, raise it, or push the corners back.
- If your hairline is naturally uneven, leave it alone and let the barber handle it — an uneven line made symmetrical by a home trim looks worse than the original.
Step 4: Sideburns
Sideburns grow fast and unevenly, and they connect the fade to the rest of the cut. Trim them to the length your barber set — usually level with the middle of the ear — and keep both sides even. This takes thirty seconds and makes a visible difference.
What to leave to your barber (do not DIY these)
- Re-blending the fade gradient. The blend is a series of tiny steps between guards, done by eye and by feel. A home attempt almost always creates a visible line or a patch.
- Reshaping the neckline. Cleaning below the line is safe; moving the line is not. A neckline that is too high or asymmetric takes weeks to grow back.
- Taking the top down. The top is the part of the cut that frames your face. Cutting it at home risks the shape and the length that make the fade work.
- Fixing a “hole” or patch. If you cut a patch into the fade, the fix is a shorter guard all over or a barber’s correction — not more trimming in the same spot.
Tools you actually need
You do not need a professional setup. You need four things, and you probably own two of them already:
- A trimmer (the small, T-blade or detailer type). This is the one purchase that matters — a trimmer is designed for edges, and it is much safer than using clippers without a guard. A $30–$50 trimmer is enough.
- Your regular clippers with guards. For cleaning the neckline and the bulk behind the ears, if you do not have a trimmer. Use a guard, not the bare blade, until you are confident.
- A hand mirror. Non-negotiable for the back of the neck. A small hand mirror and a bathroom mirror together let you see the whole neckline.
- A soft brush and a cape or towel. Brush the loose hair away so you can see what you are doing, and keep the clippings off your clothes.
What you do not need: a second set of clippers, a fading comb, or a professional clipper-over-comb technique. Those are for building the fade, not maintaining it.
The scheduling strategy: stretch the barber cycle honestly
The honest cycle for a fade is 3–4 weeks at the barber, with a weekly edge cleanup at home. That is not a failure of the cut — it is the nature of a high-contrast style. The routine above does not replace the barber; it buys you a week, and it keeps the cut looking deliberate for the whole cycle instead of only the first half.
- Low fades grow out the softest — the gradient is gentle, so regrowth blurs gradually. A low fade with weekly edge cleanups can stretch to 4 weeks between cuts.
- Mid fades show regrowth sooner, because the contrast line is higher and sharper. Expect 3 weeks, and book the next cut at the 2-week mark so the slot is there when you need it.
- High and skin fades show regrowth fastest and lose their contrast first. They need a 2–3 week cycle, and the weekly cleanup matters most — without it, a skin fade looks grown out in ten days.
A cheaper option between full cuts is a lineup-only visit: many barbers will clean up the edges and neckline for $10–$20 without doing the full cut. That is worth it at the 2-week mark if you do not trust your own hand yet. If you want to be able to explain exactly what you want, our guide on how to ask your barber for a taper fade covers the wording.
The maintenance level is part of choosing a fade in the first place — which is why our complete guide to men’s short hairstyles treats maintenance as one of the three factors in choosing a cut, alongside face shape and hair type.
Frequently asked questions
How often should I clean up the neckline?
Once a week, or whenever the fuzz below the line is visible. More often than that risks moving the line up; less often lets the neckline creep down and age the whole cut.
Can I use my clippers instead of a trimmer for the edges?
Yes, but a trimmer is safer and more precise. Clippers without a guard cut a wider path and are easier to slip with; if you use clippers, keep the lever open and work in short passes.
How do I fix a mistake if I cut too much?
Stop immediately and assess it in the mirror. A small patch can sometimes be blended by taking the surrounding area down slightly; a large patch or a raised neckline needs a barber. Do not keep trimming to fix it — that is how small mistakes become short cuts.
Is it worth paying for a lineup between cuts?
Yes, if you do not trust your own hand or the cut matters (a wedding, a job interview, a date). A $10–$20 lineup at the 2-week mark buys a week of sharpness without the cost of a full cut.
How long does a fade actually last?
A fade looks sharp for about two weeks and acceptable for three with weekly edge cleanups. After that, the gradient has grown out and the cut needs a full re-cut — home touch-ups stop helping around the 3–4 week mark.
The routine, on one line
Once a week: clean the neckline below the line, tidy around the ears, touch the hairline, even the sideburns — and leave the blend alone. Ten minutes, and the fade stays sharp until your next barber visit.